Subjects
Management Panel
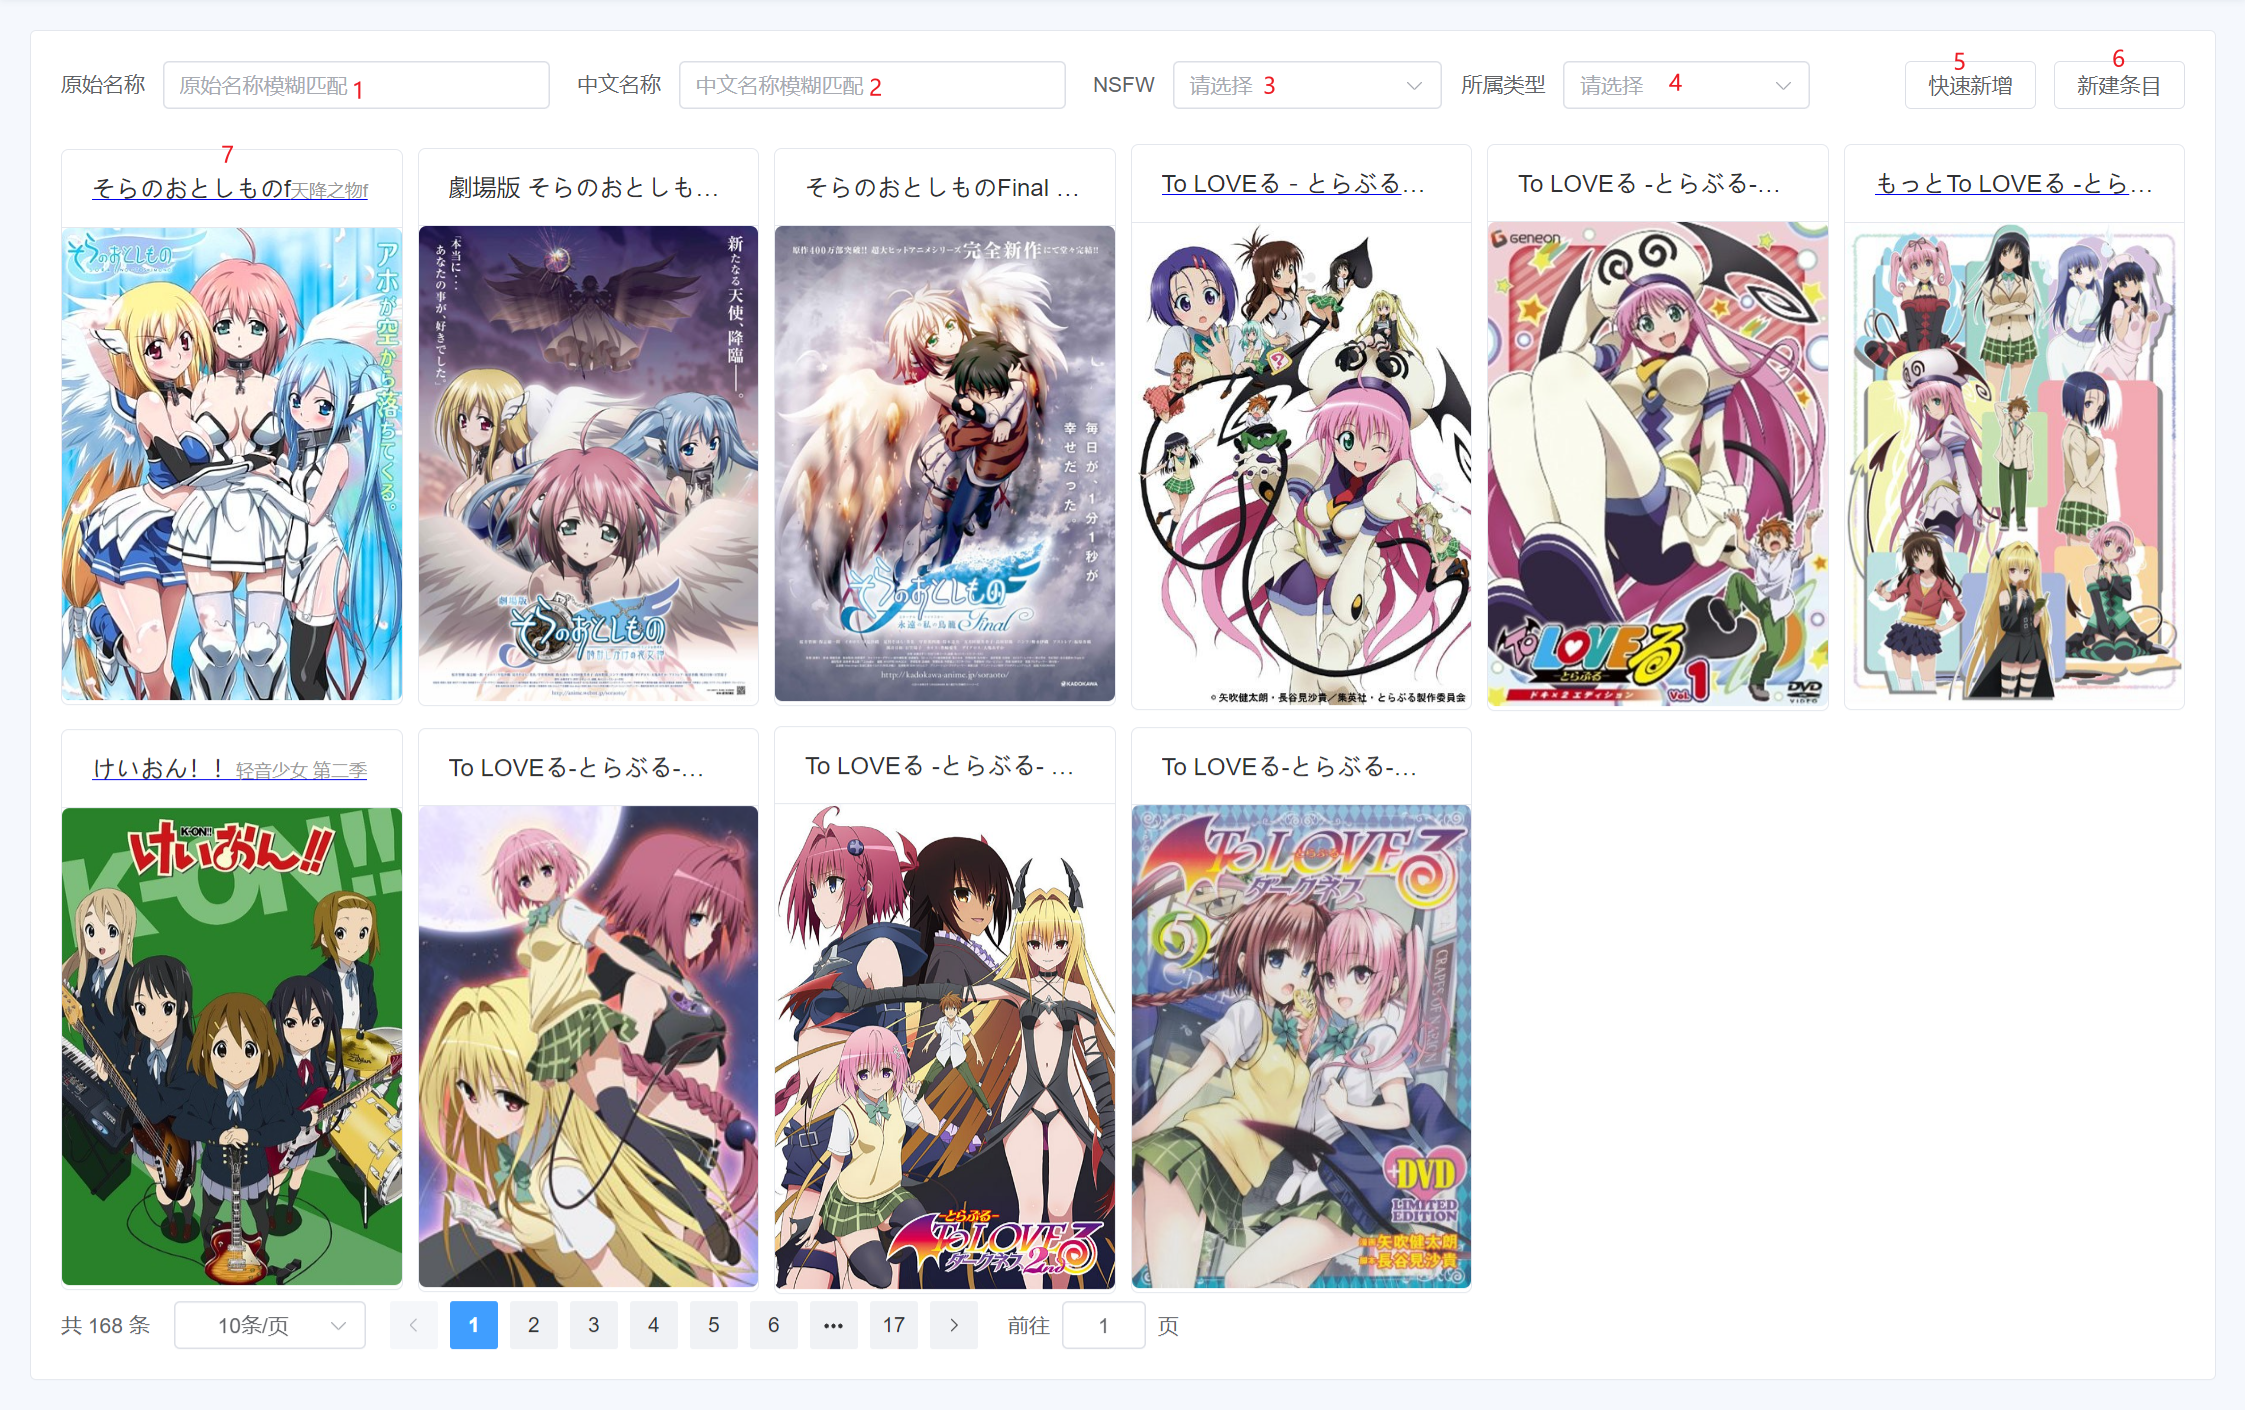
- 1: Enter the original subject name and press Enter to search. The original name is generally in Japanese.
- 2: Enter the Chinese subject name and press Enter to search.
- 3: Filter whether the subject belongs to
NSFW(Not Safe/Suitable For Work). Learn more aboutNSFWhere. - 4: Filter by the type the subject belongs to, whether it's an animation or something else.
- 5: Open the
Subject Sync Dialog. - 6: Go to the
Add Subject Page. - 7: Individual subject card. The top displays the original subject name, and the bottom displays the subject cover. Click to go to the corresponding
Subject Details Page.
Subject Sync Dialog
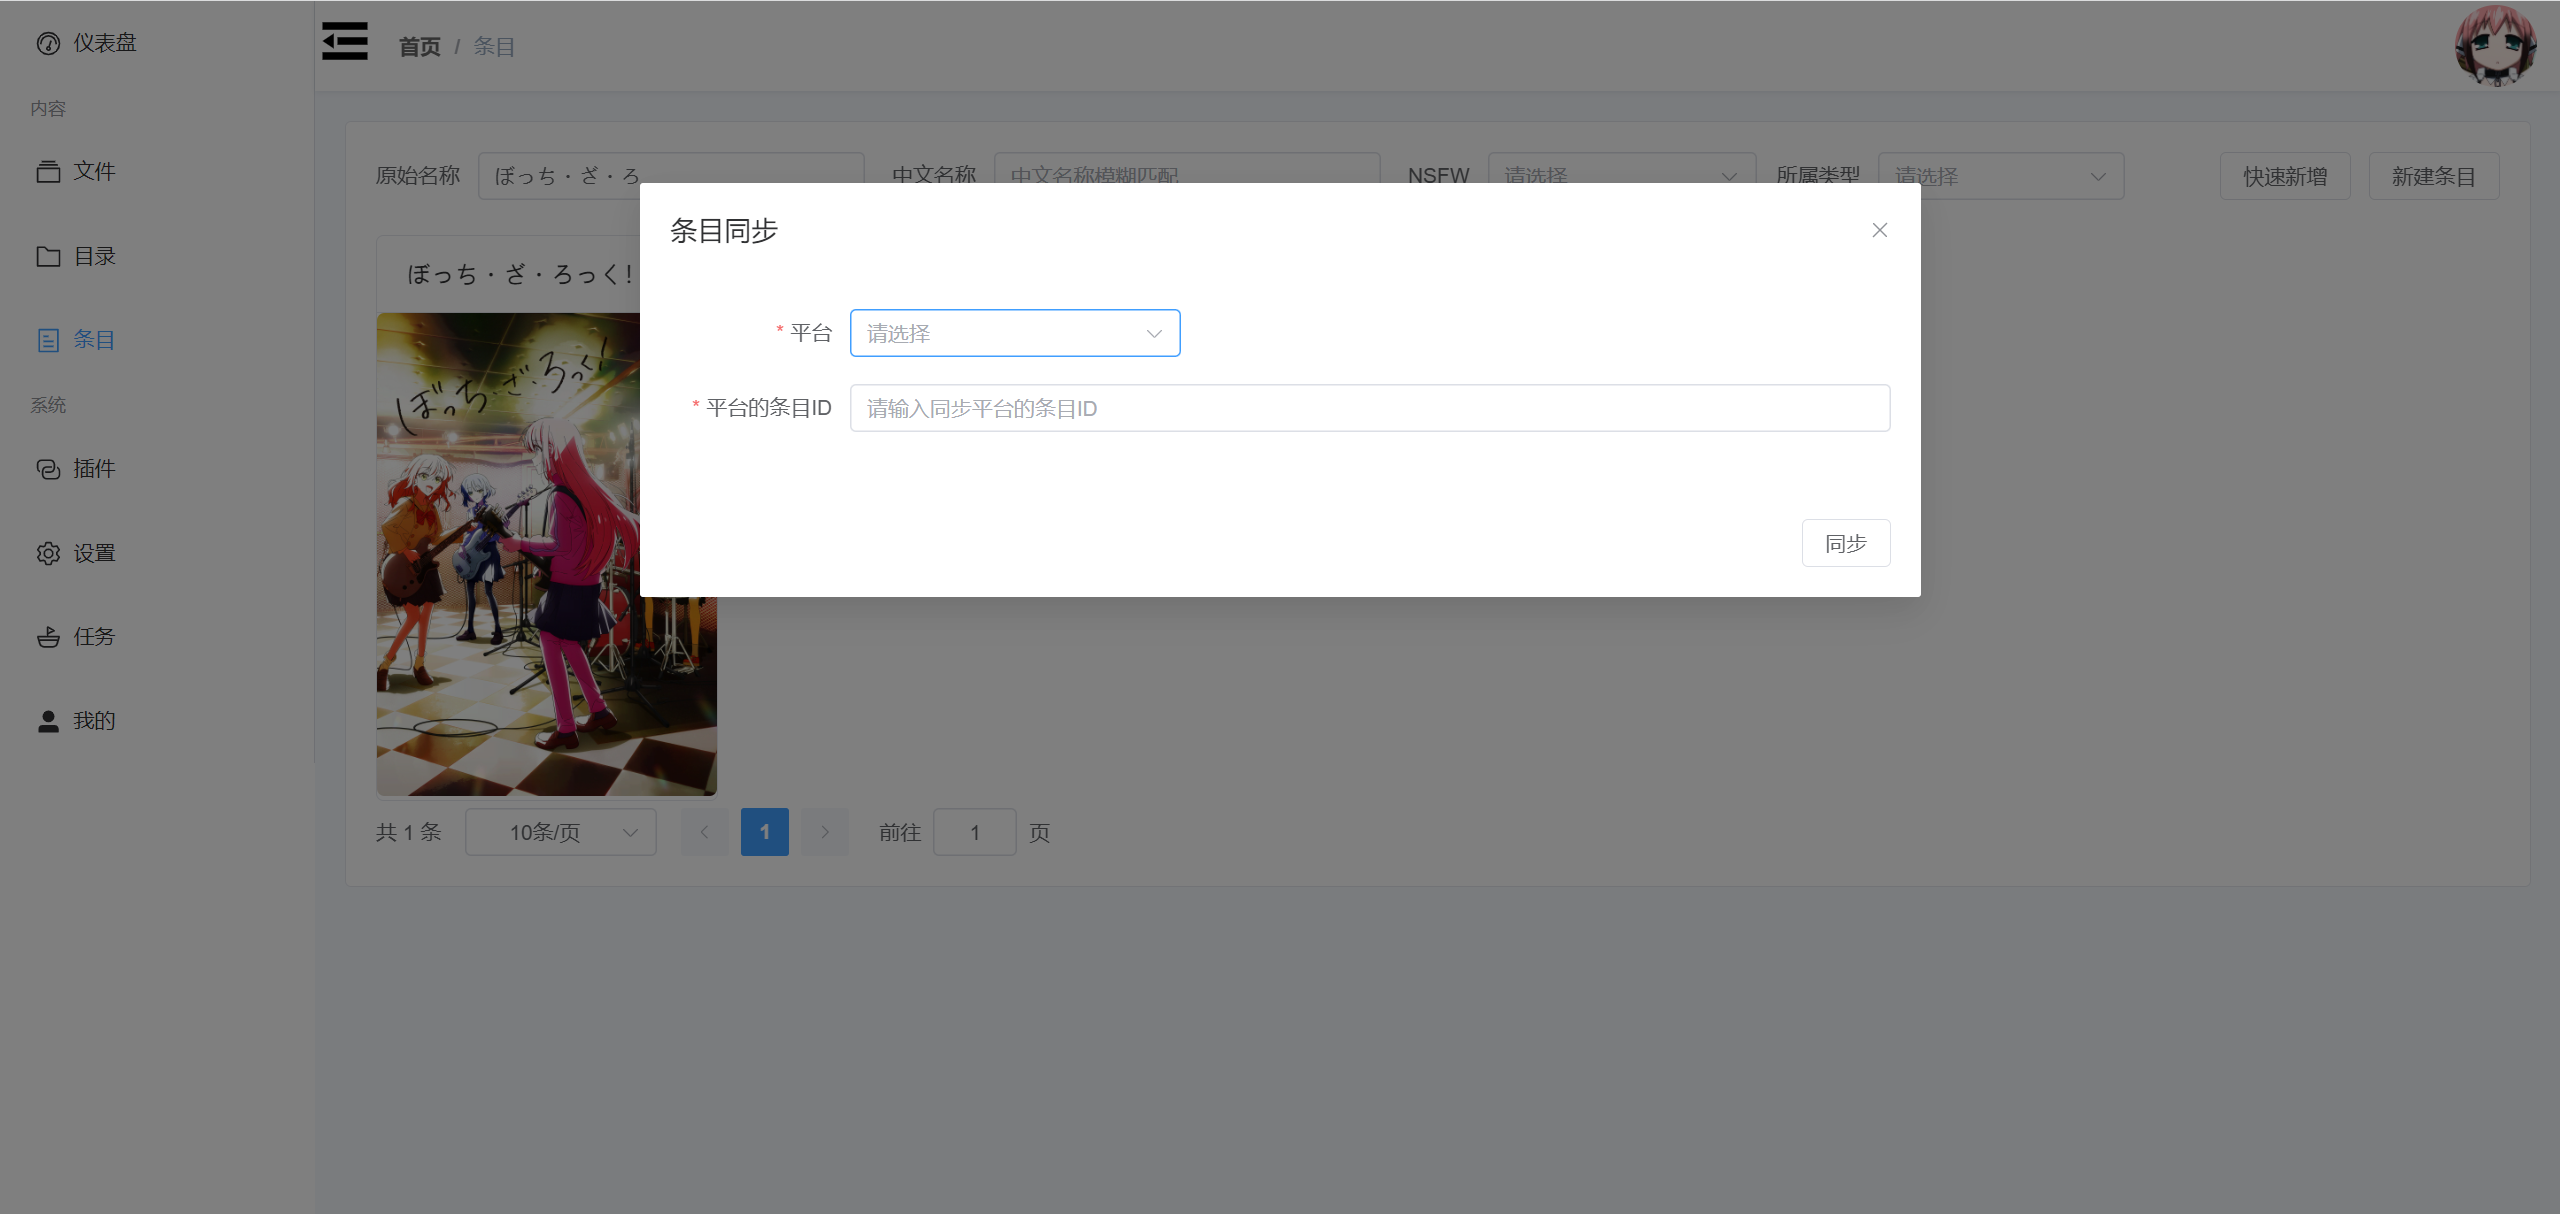
Clicking outside the dialog or the X can close it. If no subject synchronization implementation plugins are started, it will display a corresponding message instead of selectable options and input fields.
Add Subject Page
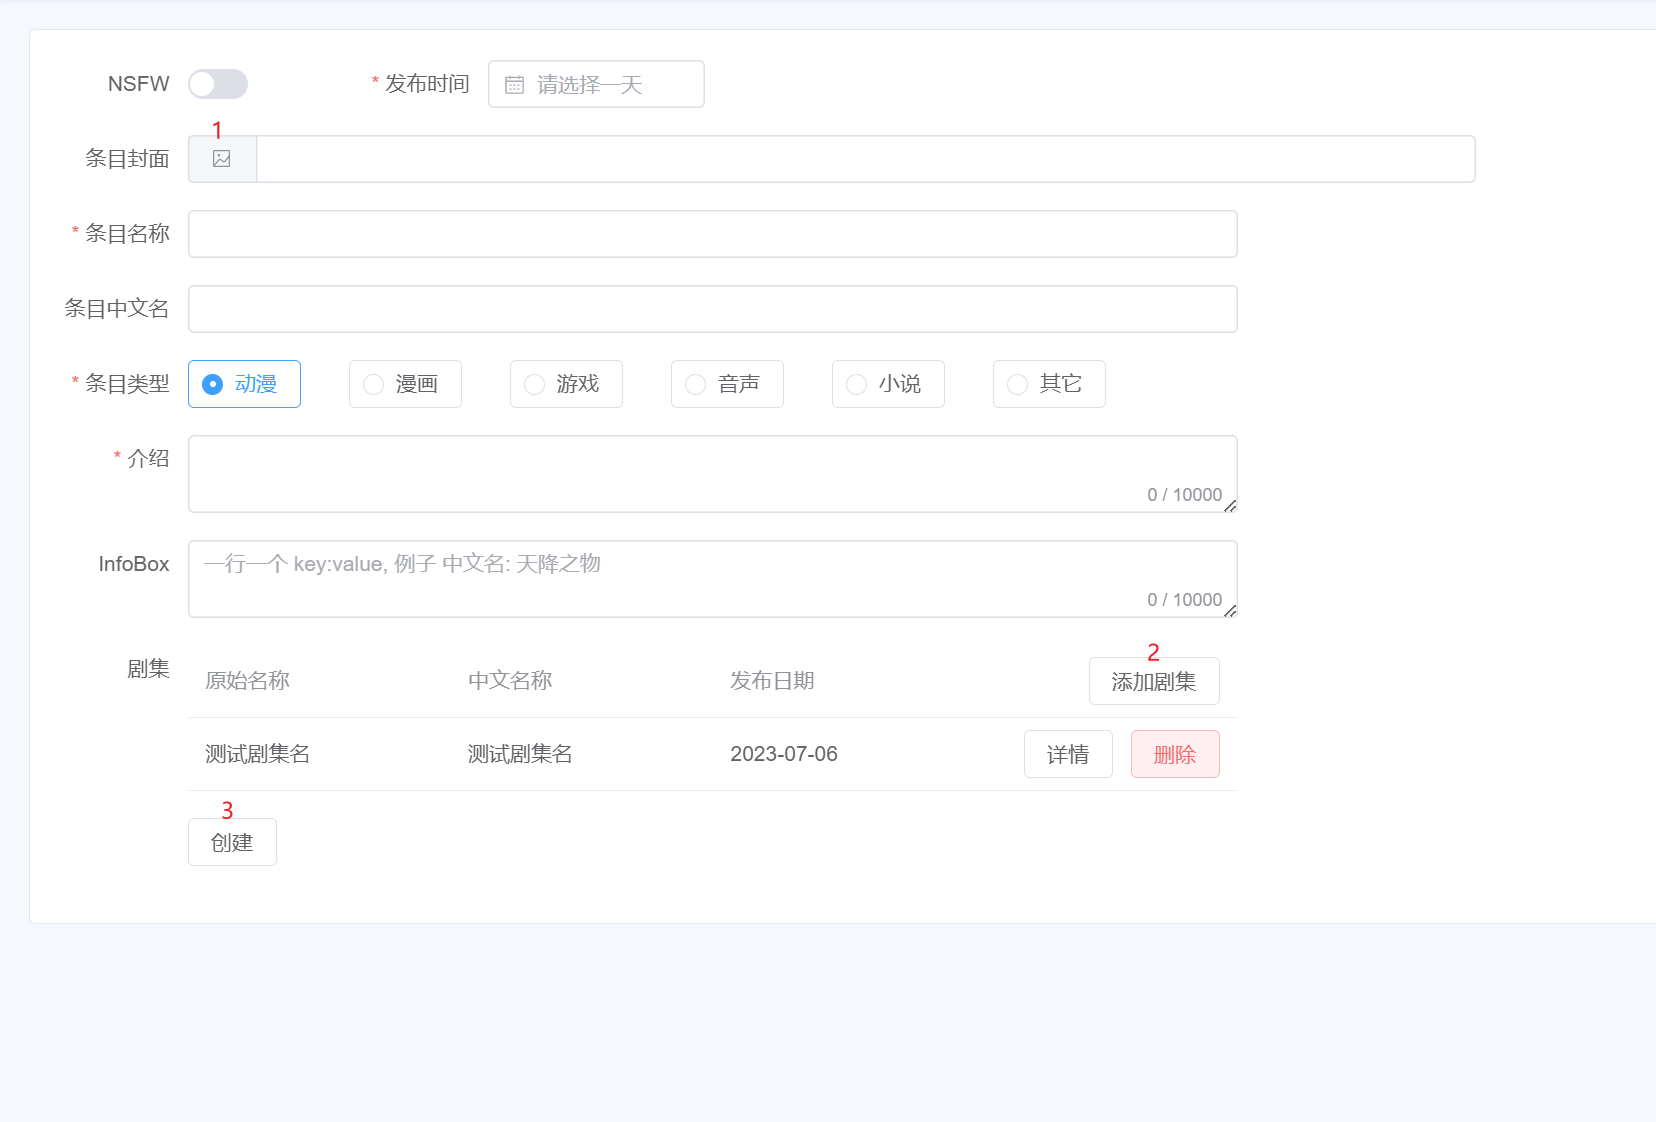
- 1: Click to open the
File Selection Dialog. - 2: Click to open the
Add Episode Dialog. - 3: Click the
Createbutton to submit.
File Selection Dialog
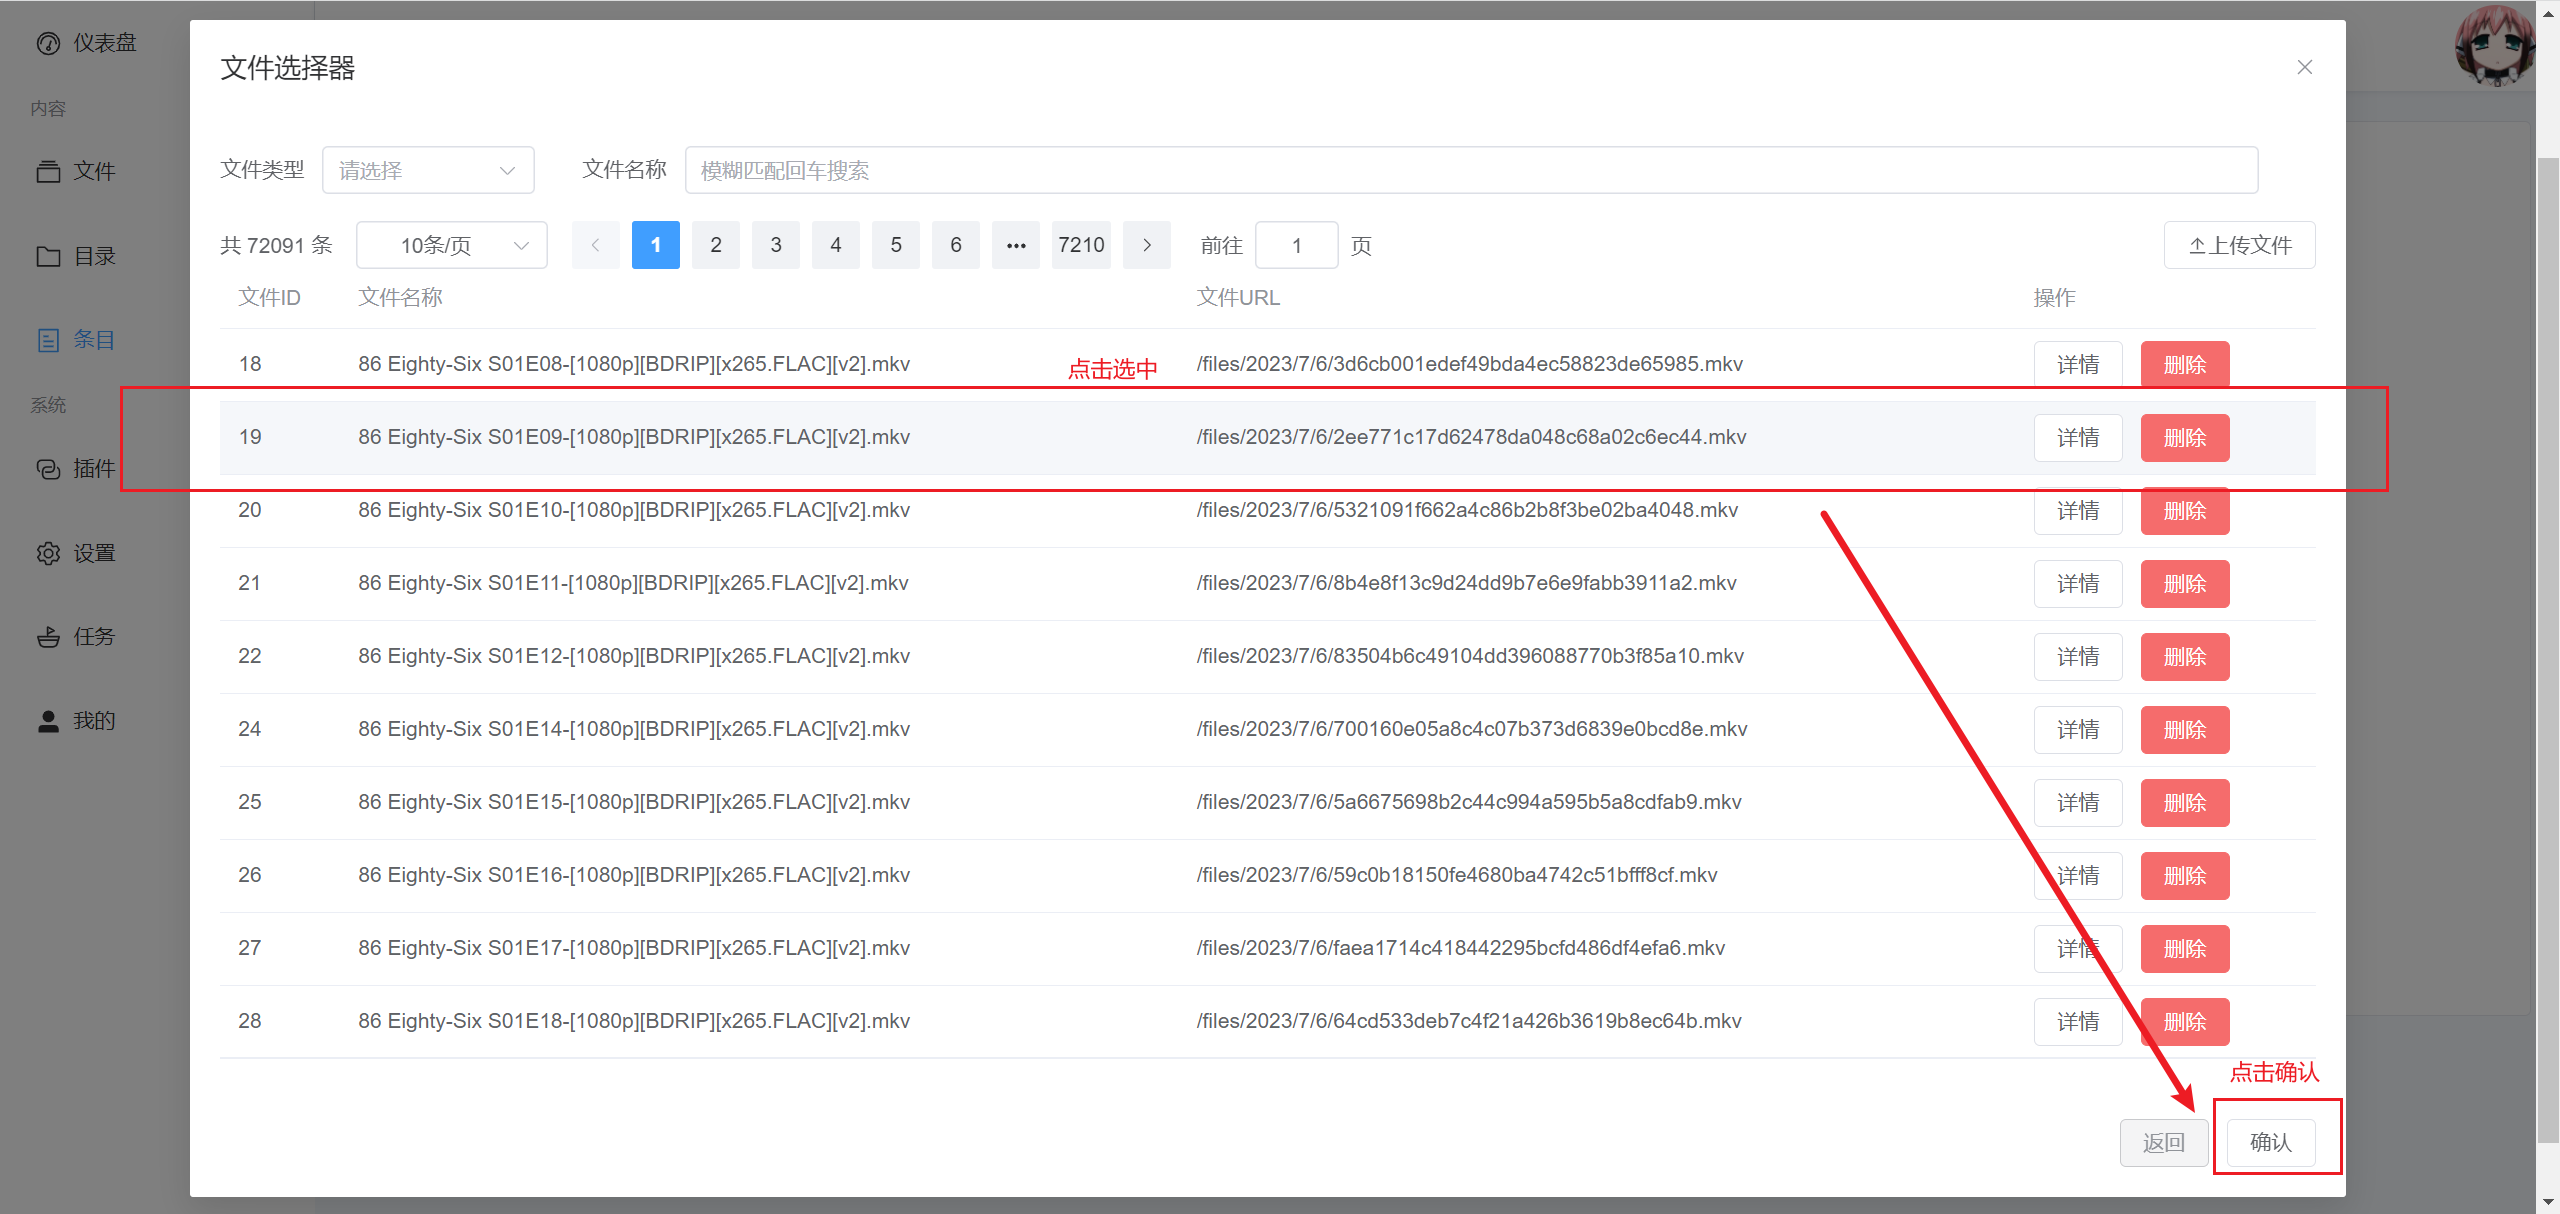
Click to select a single row. The selected row will have a different background color from the others. After selecting a file, click Confirm to fill the file URL into the Subject Cover input field.
tip
At this point, the data is not saved to the server's database. You need to click the Create button to submit it together.
Add Episode Dialog
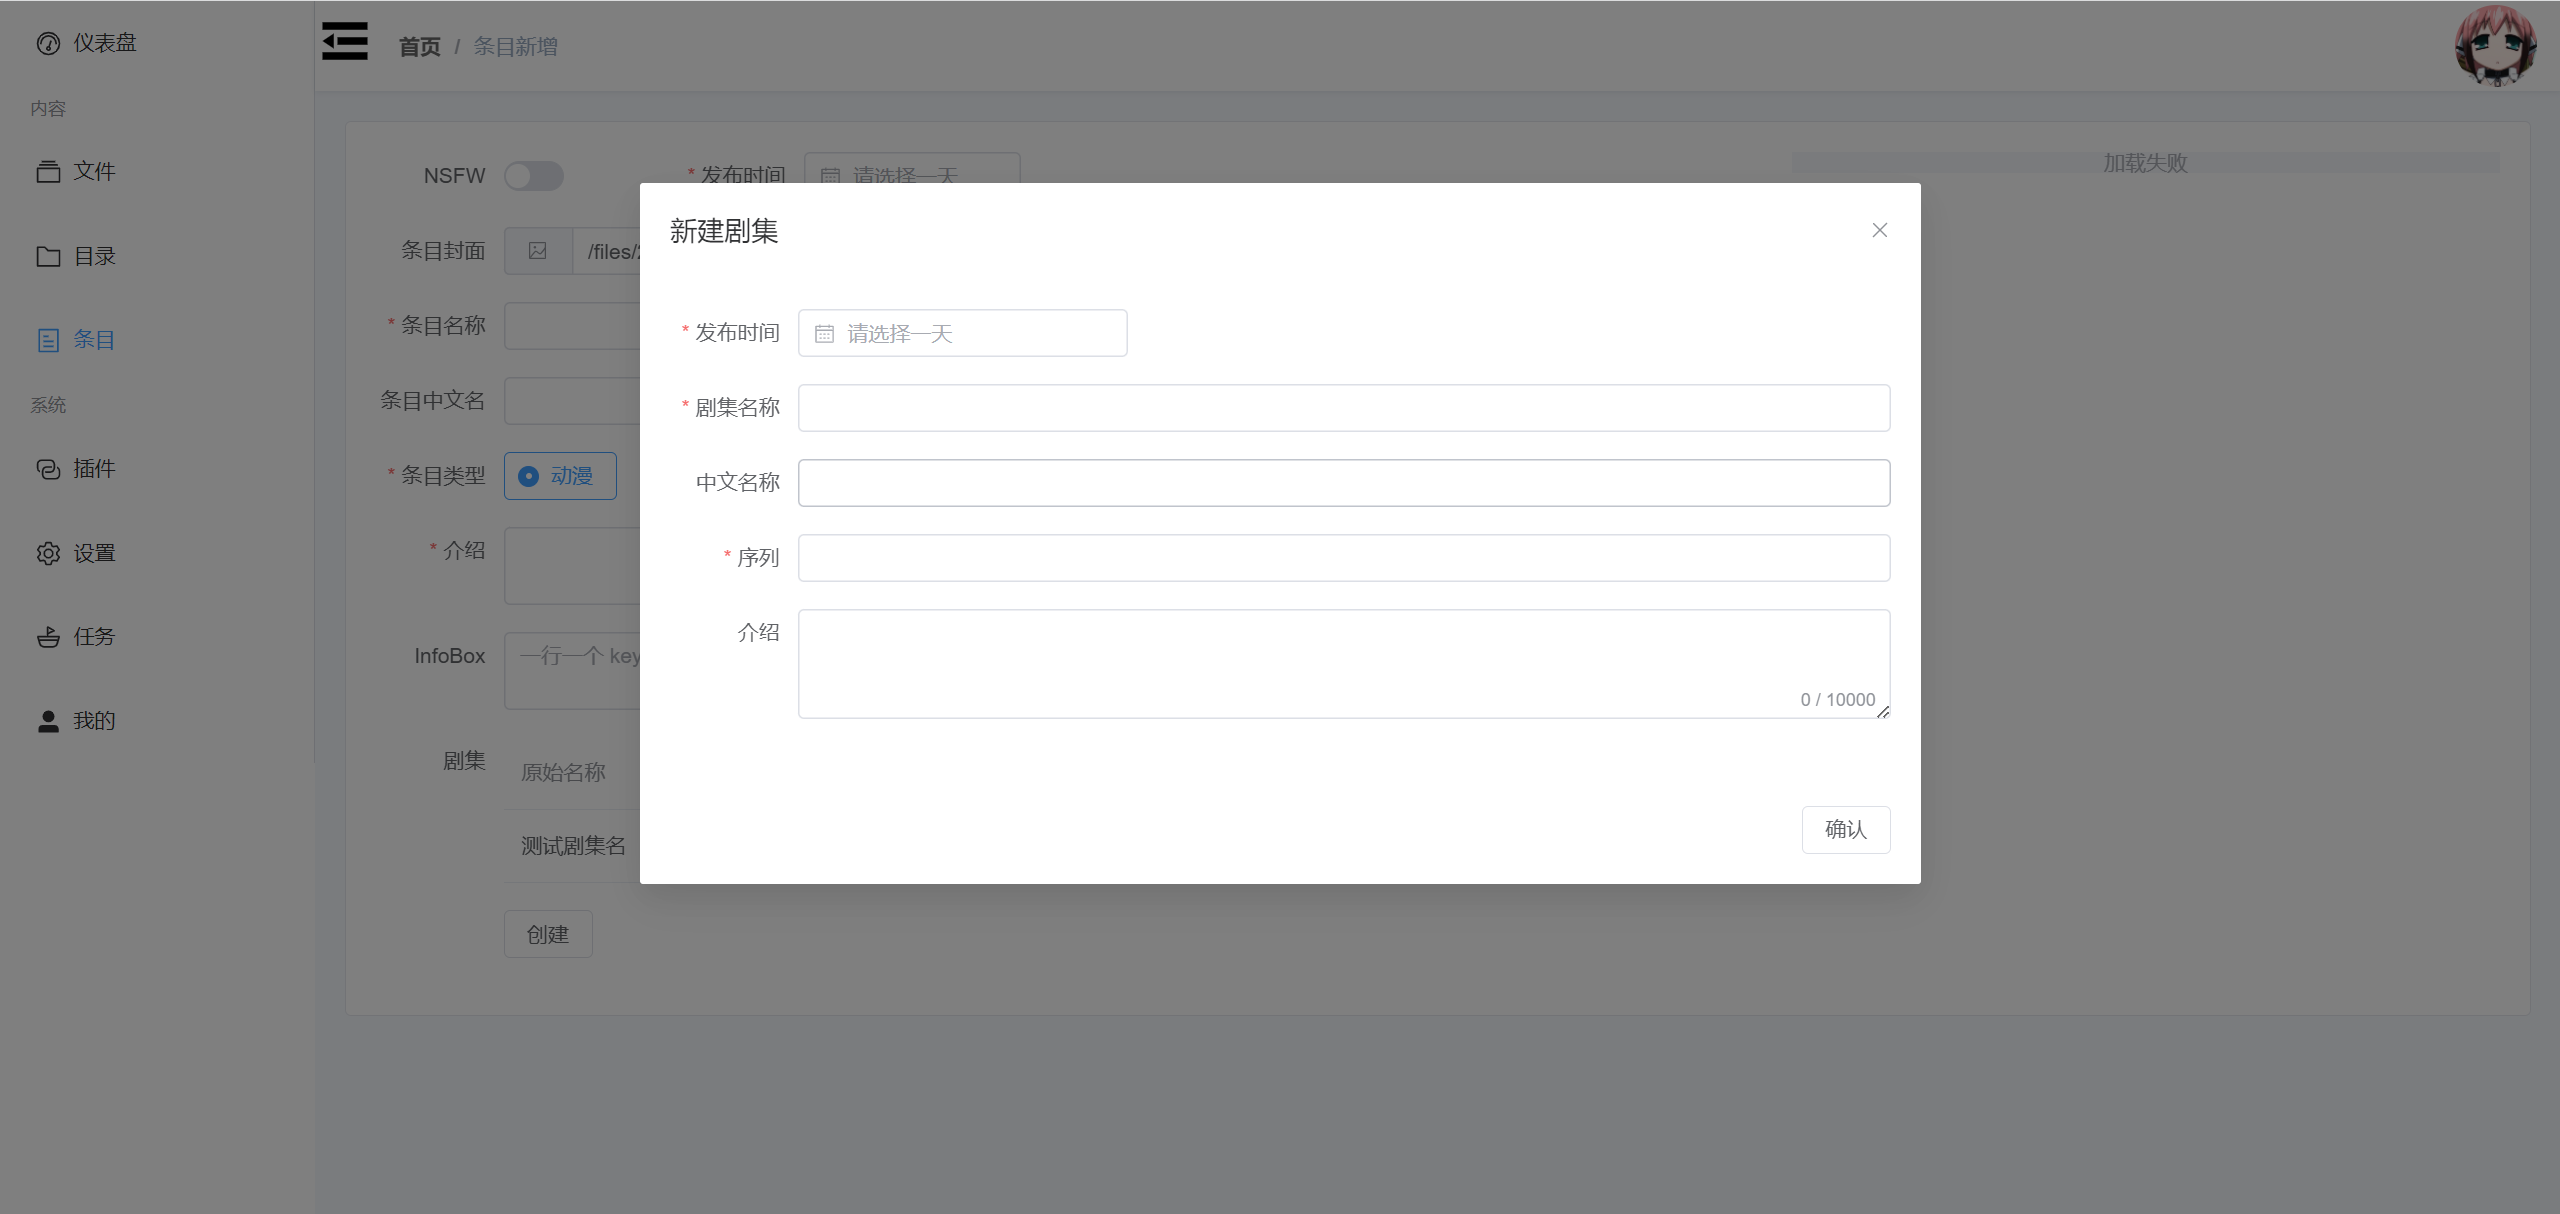
Enter the corresponding content. After clicking Confirm, a new record will be added to the Episodes table.
tip
At this point, the data is not saved to the server's database. You need to click the Create button to submit it together.
Subject Details Page
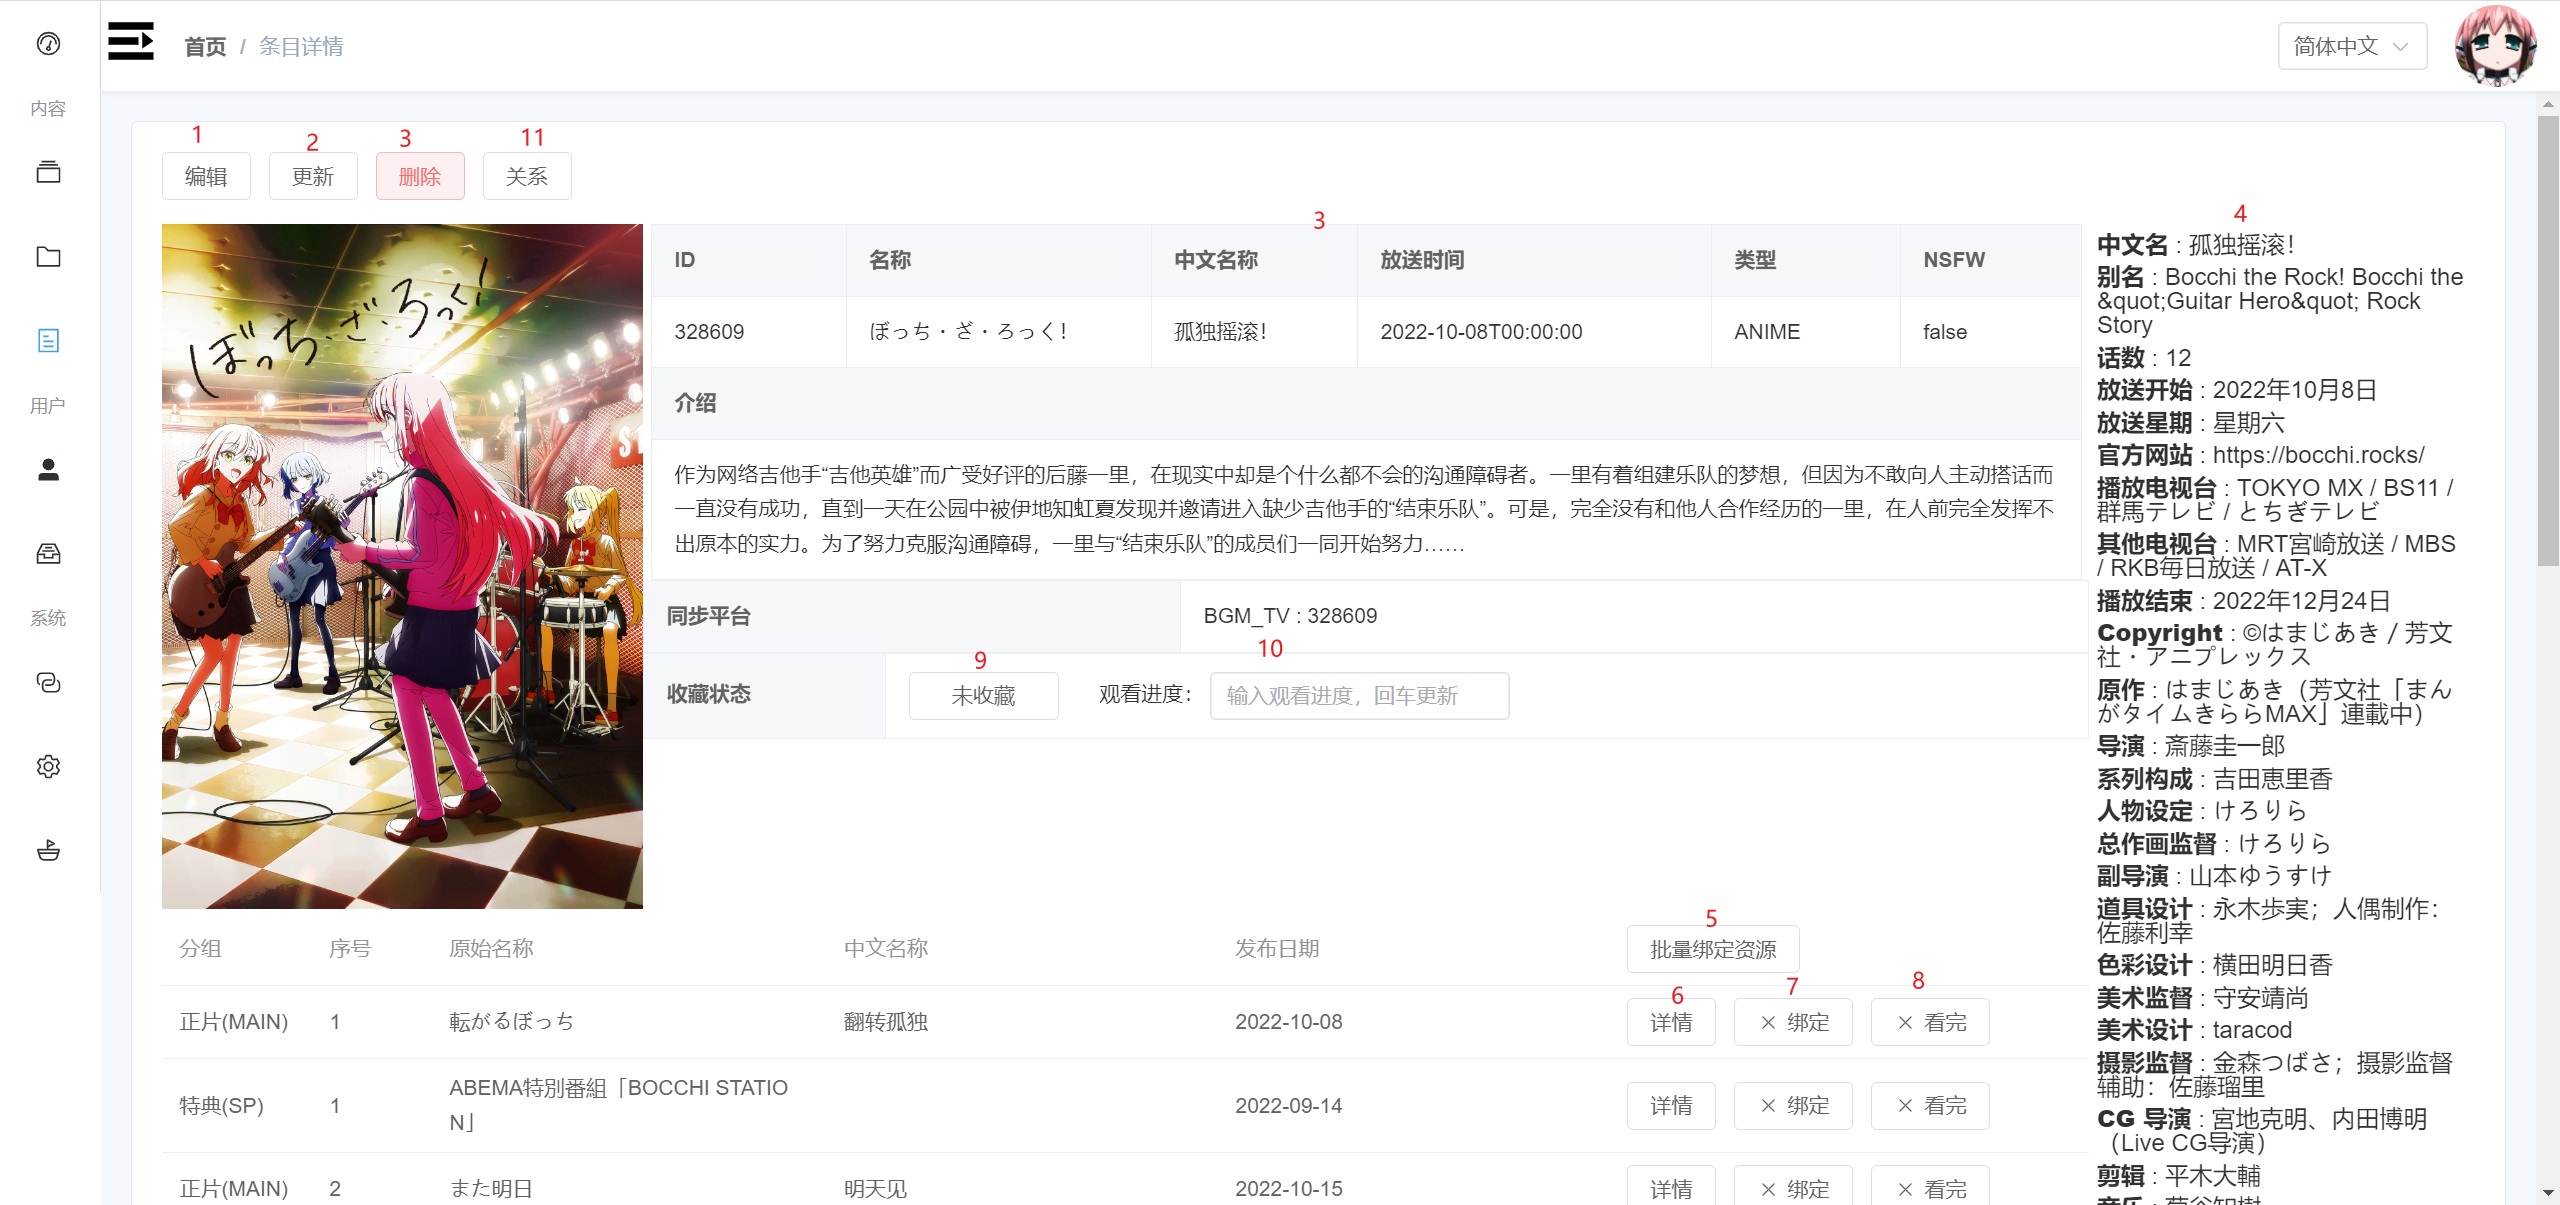
- 1: Go to the subject edit page. It is similar to the add subject page, but the data is automatically filled. You can modify it and submit the update.
- 2: Delete the current subject.
- 3: Display of subject cover, information, and episodes.
- 4: Display of the subject's
InfoBox. - 5: Click to open the multi-select dialog for files. After confirming, it will batch match episode numbers with the selected files. The batch matching rule is: regex match
XXX[08]XXXX.XXXandXXXX 08 XXXX.XXX. - 6: Click to open the file episode details dialog. Additionally, double-clicking the current episode row will also open the file episode details dialog.
- 7: Click to open the file single select dialog, and match individual episodes with resources. If matched, the button icon will update to a checkmark.